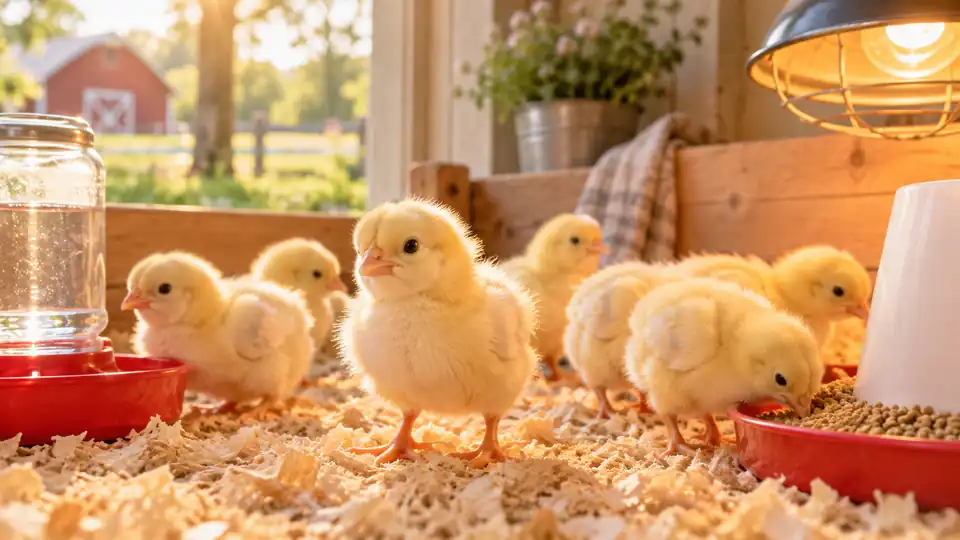
- A secure, draft-free brooder with enough room to move away from the heat.
- Chick-level warmth around 90–95°F (32–35°C) to start, adjusted by behavior.
- Fresh chick starter feed available throughout the day.
- Clean, shallow drinking water that chicks can reach without climbing into it.
- Dry, absorbent, non-slip bedding such as pine shavings.
Bringing home baby chicks is exciting, but the first few days can make new keepers second-guess every peep. The goal is simpler than it looks: keep the chicks warm without overheating them, keep their environment dry and clean, and make food and water effortless to find.
1. Prepare the brooder before the chicks arrive
Set up the brooder before pickup or delivery so the space is already warm and stable when the chicks arrive. A large plastic tote, stock tank, purpose-built brooder or another secure enclosure can work as long as there is good ventilation and the chicks cannot escape.
Place the heat source at one end rather than heating the entire floor equally. This creates a warm zone and a cooler zone, allowing chicks to choose what feels comfortable.
\nNot sure how much room to allow as they grow? Use the Brooder Size Calculator to estimate a practical floor-space starting point for your flock.
2. Get the temperature right — then watch the chicks
University poultry-extension guidance commonly recommends starting day-old chicks around 90–95°F (32–35°C) at chick level during the first week, then reducing supplemental heat by roughly 5°F each week as they feather out.
The thermometer is useful, but chick behavior is just as important:
- Comfortable: chicks are spread around the brooder, eating, drinking and resting normally.
- Too cold: they crowd tightly beneath the heat and may chirp loudly.
- Too hot: they avoid the heat source, spread far away from it or may pant.
- Draft present: they may bunch together on one side of the brooder.
Adjust the heat based on the whole picture rather than chasing one exact thermometer reading.
\nFor a quick age-based starting point in Fahrenheit and Celsius, use the Brooder Temperature Calculator.
3. Show every chick where the water is
When chicks first enter the brooder, gently dip the tip of each chick's beak into the water so it learns where to drink. Do not submerge the nostrils. A purpose-made chick waterer is ideal because it gives easy access while reducing the chance of chicks soaking themselves.
Check the water several times a day. Bedding and feed can quickly end up in the drinking tray. Rinse and refill whenever it looks dirty, and keep the area around the waterer as dry as possible.
4. Use a complete chick starter feed
For the first weeks, make a commercially prepared chick starter the main diet. It is formulated to provide the protein, vitamins and minerals growing chicks need. Keep it available so the chicks can eat whenever they are hungry.
\nPlanning how much feed to keep on hand? The Chicken Feed Calculator estimates daily, weekly and monthly quantities from flock size and life stage.
During this first week, there is little reason to complicate the diet with treats. Learning to eat starter feed consistently is more important than variety.
5. Keep the bedding dry and non-slip
Dry bedding helps insulate chicks, absorbs moisture and gives their legs secure footing. Pine shavings are a common option. Avoid slick surfaces as the chicks' main flooring because young legs need traction.
Remove obvious wet patches—especially around the waterer—and add fresh bedding as needed. A brooder that smells strongly of ammonia or feels damp needs attention sooner rather than later.
6. Use a simple daily routine
You do not need to hover over the brooder every minute. A predictable check several times through the day is more useful:
- Look at how the chicks are distributed around the heat source.
- Confirm every chick is active and able to reach food and water.
- Refresh dirty water and top up starter feed.
- Remove wet bedding and check for drafts.
- Listen. Sudden, persistent loud peeping often means something has changed.
7. Know what a comfortable chick looks like
Healthy, comfortable chicks are generally curious and active between naps. They explore, scratch, eat, drink and settle down in small groups. They should not spend all day desperately crowding the heat source or trying to escape it.
If one chick is persistently weak, isolated, unable to stand normally, not eating or drinking, or showing breathing difficulty, seek advice from a poultry-experienced veterinarian or local agricultural extension resource. This guide is for routine husbandry, not diagnosis or treatment.
What changes after the first week?
As the chicks grow, they need more space and gradually less supplemental heat. A common approach is to lower the brooder temperature by about 5°F per week while continuing to judge comfort by behavior. Keep expanding usable space, maintaining dry litter and providing fresh starter feed and water.
The first week is mostly about stability. Once your chicks are eating, drinking, sleeping comfortably and moving confidently around the brooder, you have built the foundation for the next stage.
Brooding recommendations were cross-checked against Penn State Extension and University of Minnesota Extension. Local climate, breed and housing conditions can change how much supplemental heat is needed.
Chick Brooder Temperature Chart by Age & Week
Use the simple week-by-week heat chart and learn what chick behavior tells you when the brooder is too warm or too cool.
Feeding baby chicks? See our complete guide to what baby chicks eat, including chick starter, water, grit, treats and when to change feed.